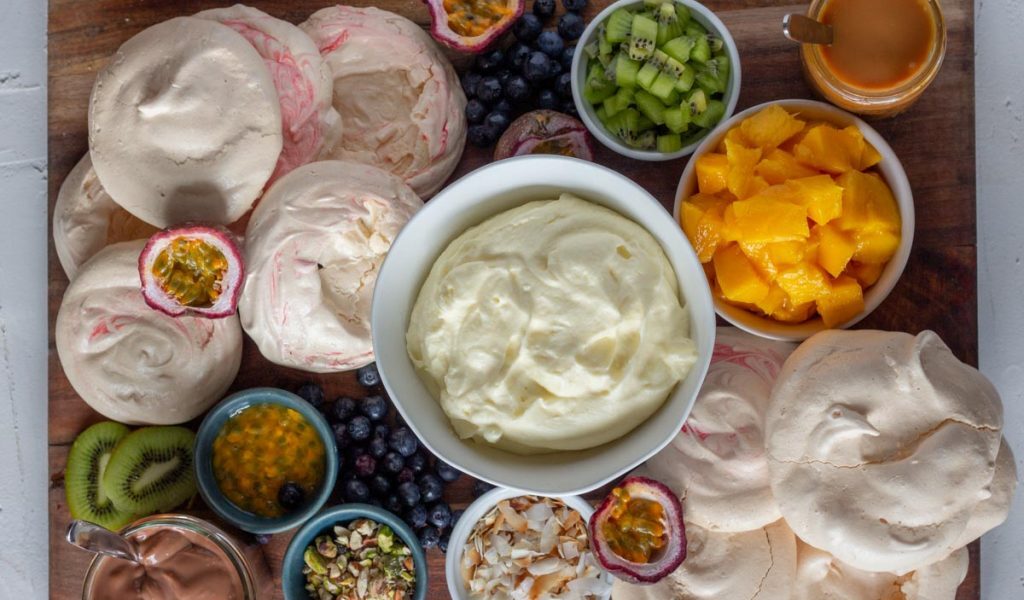
Give the classic pavlova a twist by making a pavlova grazing platter. Mini pavlovas, whipped cream, chocolate and caramel sauce, and a variety of fruit and toppings are part of this stunning dessert. This DIY pavlova platter lets everyone decide what and how much they want to put on their pavlova. A perfect dessert board for your next party!
The inspiration for this pavlova grazing platter comes from Shalini Nestor of Swish Biscuits. She posted a picture of her pavlova grazing board on her Instagram, and the post went viral. Ever since then, I had been wanting to make this DIY platter as a dessert, but didn’t get the chance because well Covid. However, with restrictions easing up in Sydney, I finally got the chance to make this
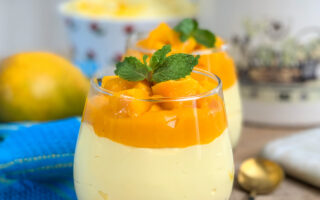
I love pavlova – it’s one of my favorite desserts to make and eat. It tastes delicious – crispy, chewy, creamy, and fruity. It also looks spectacular and makes people THINK you have put in hours of effort, when it’s actually simple to make. Read on ahead for tips on how to make this delicious dessert board, and also why it’s such a brilliant dessert idea.

What all can you include in a pavlova grazing platter?
The best part about the make your own pavlova trend is that you don’t have to stick to one flavor combination. You can add a variety of toppings and cater to everyone’s tastebuds. In saying that, choose ingredients and flavor combinations that complement each other.
- Whipped Cream: I like to serve simple sweetened whipped cream with these mini pavlovas. It’s the classic base that complements whatever flavor you put on top. If you want, you can flavor your whipped cream.
- Sauces, Curds and Dips: Sauces add another flavor dimension to the mini pavlovas. Don’t keep too many, as that can get too much. 1 – 2 is a good number, though you can serve 3 if you are making a grazing platter for a larger party.
- Chocolate Sauce: You can make your own chocolate ganache or get chocolate sauce from the supermarket. You can also use Nutella. In case the ganache or chocolate sauce is too thick, it can be thinned by warming it up in the microwave.
- Caramel Sauce: You can make your own caramel sauce, or you can buy a bottle from the supermarket. In case the caramel sauce is too thick, warm it in the microwave for a few seconds till it is liquid and runny. Salted caramel, or dulche de leche can also be used.
- Curd: Curd made from citrus fruit such as lemon, orange, or passionfruit add flavor as well as color to the grazing platter. You can make your own curd, especially since you will have leftover egg yolks from the pavlova. Otherwise you can get it from the supermarket. In case, you don’t have curd available, you can also use a fruit jam, puree or sauce.
- Fruits: For a pavlova grazing platter, it’s important to dice (and peel if necessary) whatever fruit you are using into small pieces so it’s easier to pile on the mini pavlovas. You can also keep a few whole to add color to the grazing platter, and fill in those empty pieces. Below are some options for fruits that you can use:
- Strawberries
- Blueberries
- Mangoes
- Peaches
- Nectarines
- Kiwi
- Raspberries
- Passionfruit – cut in half, and scoop out the pulp
- Cherries – if using, make sure to remove the pit
- Nuts and other toppings: Nuts and other toppings add flavor, texture, and crunch to the pavlova board. Slice, or crush the nuts along with any other toppings you are using. If there is someone with nut allergies, make sure to keep the nuts separately to avoid contamination.
- Coconut flakes – coconut can be toasted for an added burst of flavor.
- Crushed pistachios
- Sliced almonds
- Crushed walnuts
- Edible rose petals
- Freeze dried strawberries
- Freeze dried strawberries
- Chopped chocolate – you can use white, milk or dark chocolate.
- Candy bar – your favorite candy bar can also be used as a topping. Make sure to chop into small pieces
- Peanuts – peanuts would go really well with peanut butter and chocolate sauce
Three reasons why the DIY pavlova platter is such a brilliant idea:
I do love a classic pavlova, but there are three major reasons why I love this version too.
- The DIY factor: The thing that I love most about this dessert was that it gives everyone the chance to make their own pavlovas, especially those picky eaters. Go tropical with mango, coconut and passionfruit or go berrilicious with strawberries, blue berries and raspberries. Can’t decide between chocolate sauce or caramel sauce – add both.
- The presentation: I personally think the classic pavlova looks quite stunning, but the pavlova grazing platter takes presentation to the next level. Definite WOW factor. You can even add flowers, or holiday props to make it look more festive.
- The pavlovas stay crisp longer: The moment apavlova is topped with cream, and fruits it starts losing its crispness. That’s why pavlovas taste best right after assembly. The benefit of these DIY pavlovas is that since they are assembled individually, they remain crisp longer. In fact, leftover mini pavlovas can be kept in an airtight container, and eaten the next day.

How to make a pavlova grazing platter?
- Making the pavlova: Start off with making the pavlovas. Start off with separating the egg whites. Eggs are best separated when cold. However, egg whites whip best at room temperature first. So separate the egg whites cold, then let them sit outside till they reach temperature. Whip till soft peaks form, then add the sugar a tablespoon at a time. Beat till the mixture is thick and glossy. If you turn the bowl upside down, the egg whites will still remain stable. Add vanilla essence, vinegar and sifted cornflour. Fold together. Pipe or spoon the pavlova batter on a prepared baking tray and bake in the oven. The pavlovas can be made in advance, and kept in an air-tight container.
- Make the sweetened whipped cream: Whip cream and sugar into soft peaks, and then flavor with vanilla essence. Make sure your cream is cold – it will make it easier to whip up.
- Make the sauces: To prepare the chocolate ganache, warm up the cream in the microwave and then add the chopped chocolate. Let the chocolate sit for 5 minutes, and then stir through. The chocolate will melt and turn into a rich and delicious chocolate ganache sauce. To make the salted caramel sauce, heat sugar in a saucepan till it turns into caramel. Carefully add the cream, as it will bubble when adding to the hot caramel. Stir till a liquid caramel sauce is made, and then add butter, vanilla essence and salt. Recipe for salted caramel sauce can be found here.
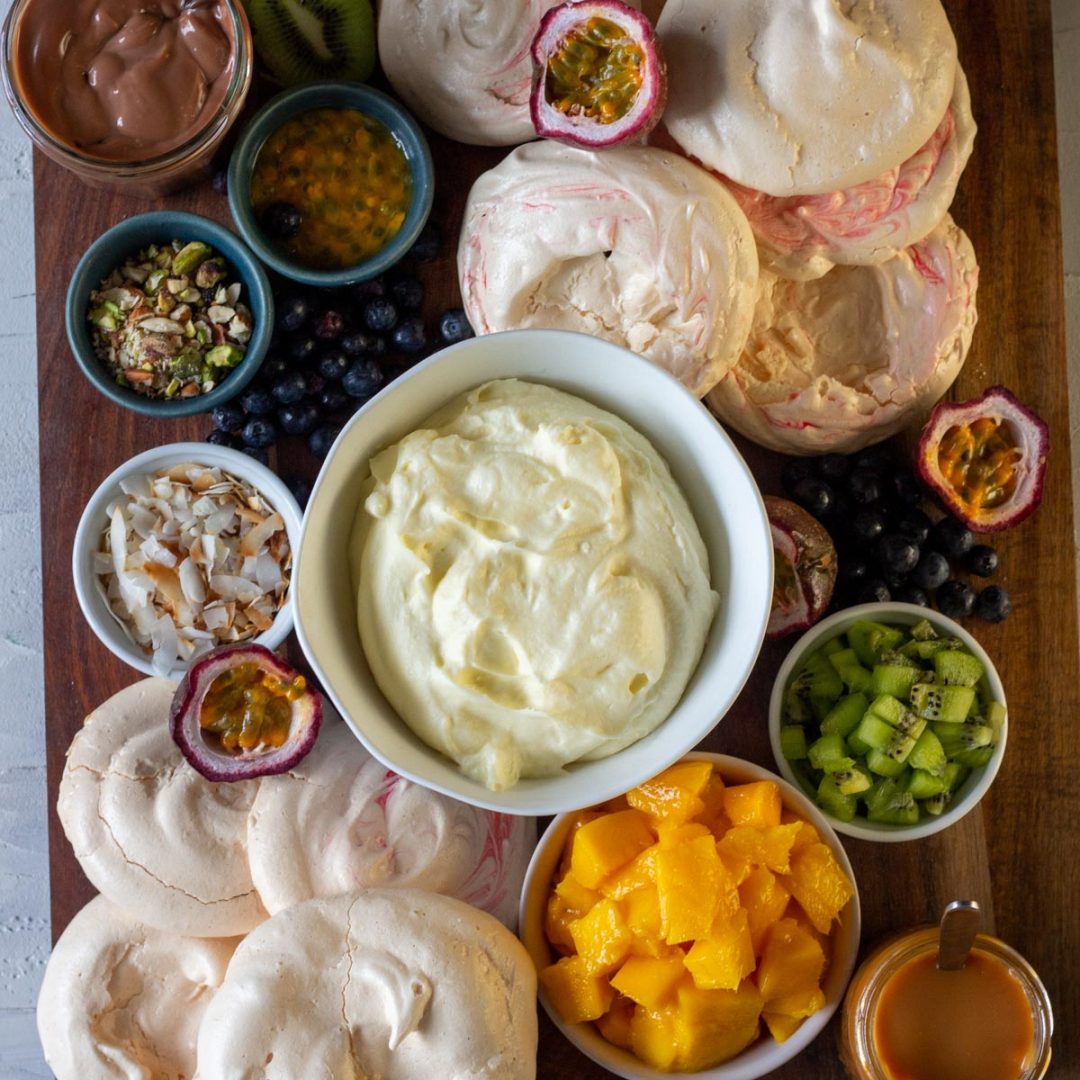
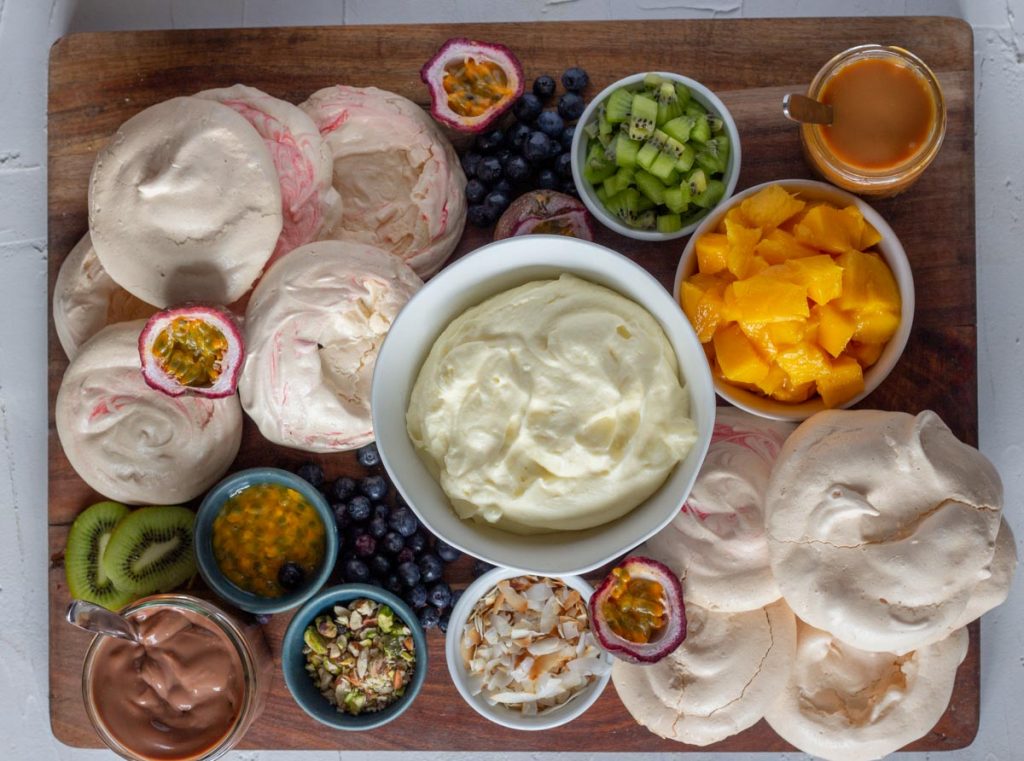
- Prepare the fruit, and toppings: Wash, and peel (if necessary) the fruits. Cut them into small cubes, and place in small bowls. Keep a few whole fruits to use as decoration. Slice or crush any nuts you are using as well, and put them into small bowls.
- Assemble the pavlova grazing platter: To make this platter, you can use a chopping board, a serving platter, a tray, even a baking sheet. If you don’t have a large enough platter, use a combination of boards. Start off with placing the pavlovas in the corners – you can pile them on top of each of each other, to save some space. Then place the cream, and the sauces. Place the small bowls of the fruits, and the nuts next. Finally, in the remaining space add the reserved whole fruit. Move things around as necessary to make it look pretty.
Would love it if you could try out and rate the recipe, and let me know how it was in the comments below!